
TP-LINK TPLINK Smart Doorbell Tapo D235 (TAPO D235)



Product images are illustrative. The original product may vary, so please refer to the product specifications in the product description.
Price
€ 109.88The e-shop price may differ with shops price. Price valid while supplier stock lasts.
Points  +109
Delivery time and options
-
 8-10 days
-
 8-10 days
-
 8-10 days
-
 8-10 days
-
 8-10 days
Product details
| Product code | TAPO D235 |
| EAN | 4895252501254 |
Product description
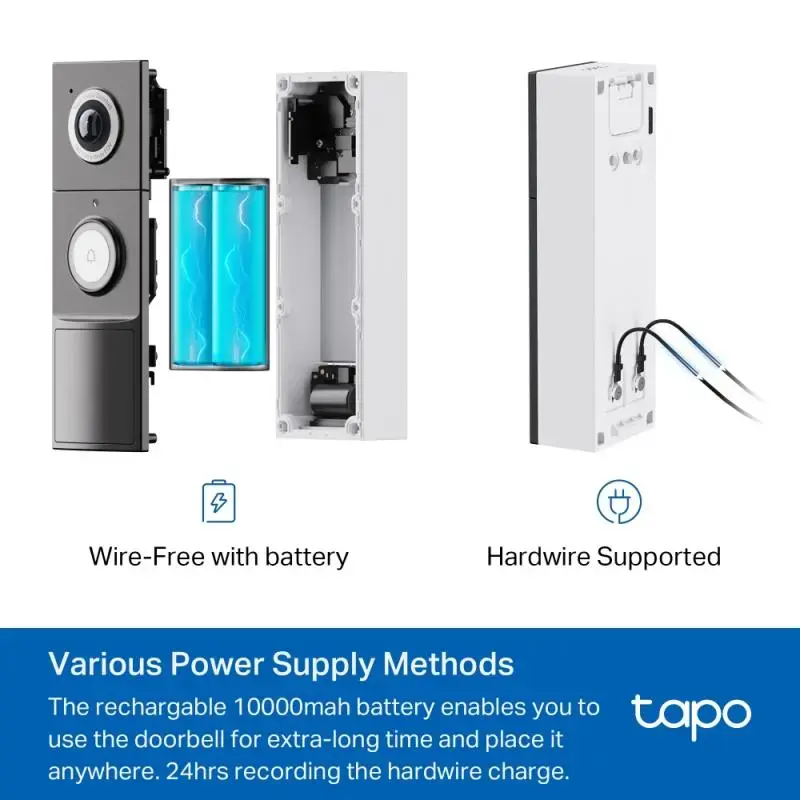
Smart. Secure. Simple. Always know who is there. Video Doorbell Camera 2K 5MP Live View + Starlight Sensor Head-to-Toe 4:3 / 180° Field of View Wireless & Wired Supported Local and Cloud Storage Intelligent AI Detection Person / Pet / Vehicle / Package Flexible Response Options Anti-theft Alarm Activity Zone 2K 5MP Head-to-Toe 180° DFOV Details matter, and with 2K 5MP clarity, Tapo D235 surpasses traditional Full-HD resolution with finer details and incredible clarity. Experience the entire picture with our 180° ultra-wide field of view, capturing every detail from head to toe in a single glance. Flexible Wedges, Flexible Views Various wedge options allow users to customize the doorbell for different placement scenarios. Users can also use these wedges to adjust the views. Local and Cloud Storage Save recorded videos to the microSD card (up to 512 GB, sold separately) or use Tapo Care cloud storage services (subscription required). Intelligent AI Detection and Notification Intelligent AI identifies people, pets, vehicles, and packages, notifying users as needed. Option 1: Adhere to the wall Attach the included adhesive tape to the back of the mount or the selected wedge. If using the wedge, attach the mount and the wedge with screws. Feed the cables through the mount (if cables are present). Wipe the dust from the surface with a dry cloth, stick the mount to the smooth wall using the adhesive tape, and press down for 15 seconds to ensure the mount is securely seated. Option 2: Mount to the wall Feed the cables (if cables are present) through the mounting template and stick the template. Drill two holes at the specified locations. Feed the cables (if cables are present) through the mount. Insert two wall plugs into the holes and use the screws to secure the mount over the plugs. Option 1: Battery-powered Attach the doorbell to the mount. Option 2: Wired-powered Connect the cables to the doorbell and tighten the screws. Attach the doorbell to the mount and turn on the power switch.
